

Here are some photos and thoughts from capturing Total Solar Eclipse 24 on April 8, from Lake Wappapello State Park, MO. This was my second try at photographing an eclipse. The first one was the Annular Eclipse on Oct 14, 2023, which I captured at Zion National Park, UT.
This trip was really my first outing for my new photography rig too. I just bought a new Canon R5 mirrorless camera and associated lenses for my primary camera setup. I’m planning to do a complete review of that setup and will share a link here. But, short overview is it’s a really amazing camera, and cut several pounds off of my camera bag and travel setup. Really happy with it’s performance and the range of lenses Canon has developed to go with it.
Lake Wappapello State Park (Lake Wappapello State Park) is a very nice state park in the Southeast corner of Missouri that had the distinction of being almost perfectly in the center of the path of totality for Total Solar Eclipse 24. In addition to 4 minutes and 10 seconds of totality (more on why this is important later), the park offered easy access and parking, free admission, and restrooms with running water.
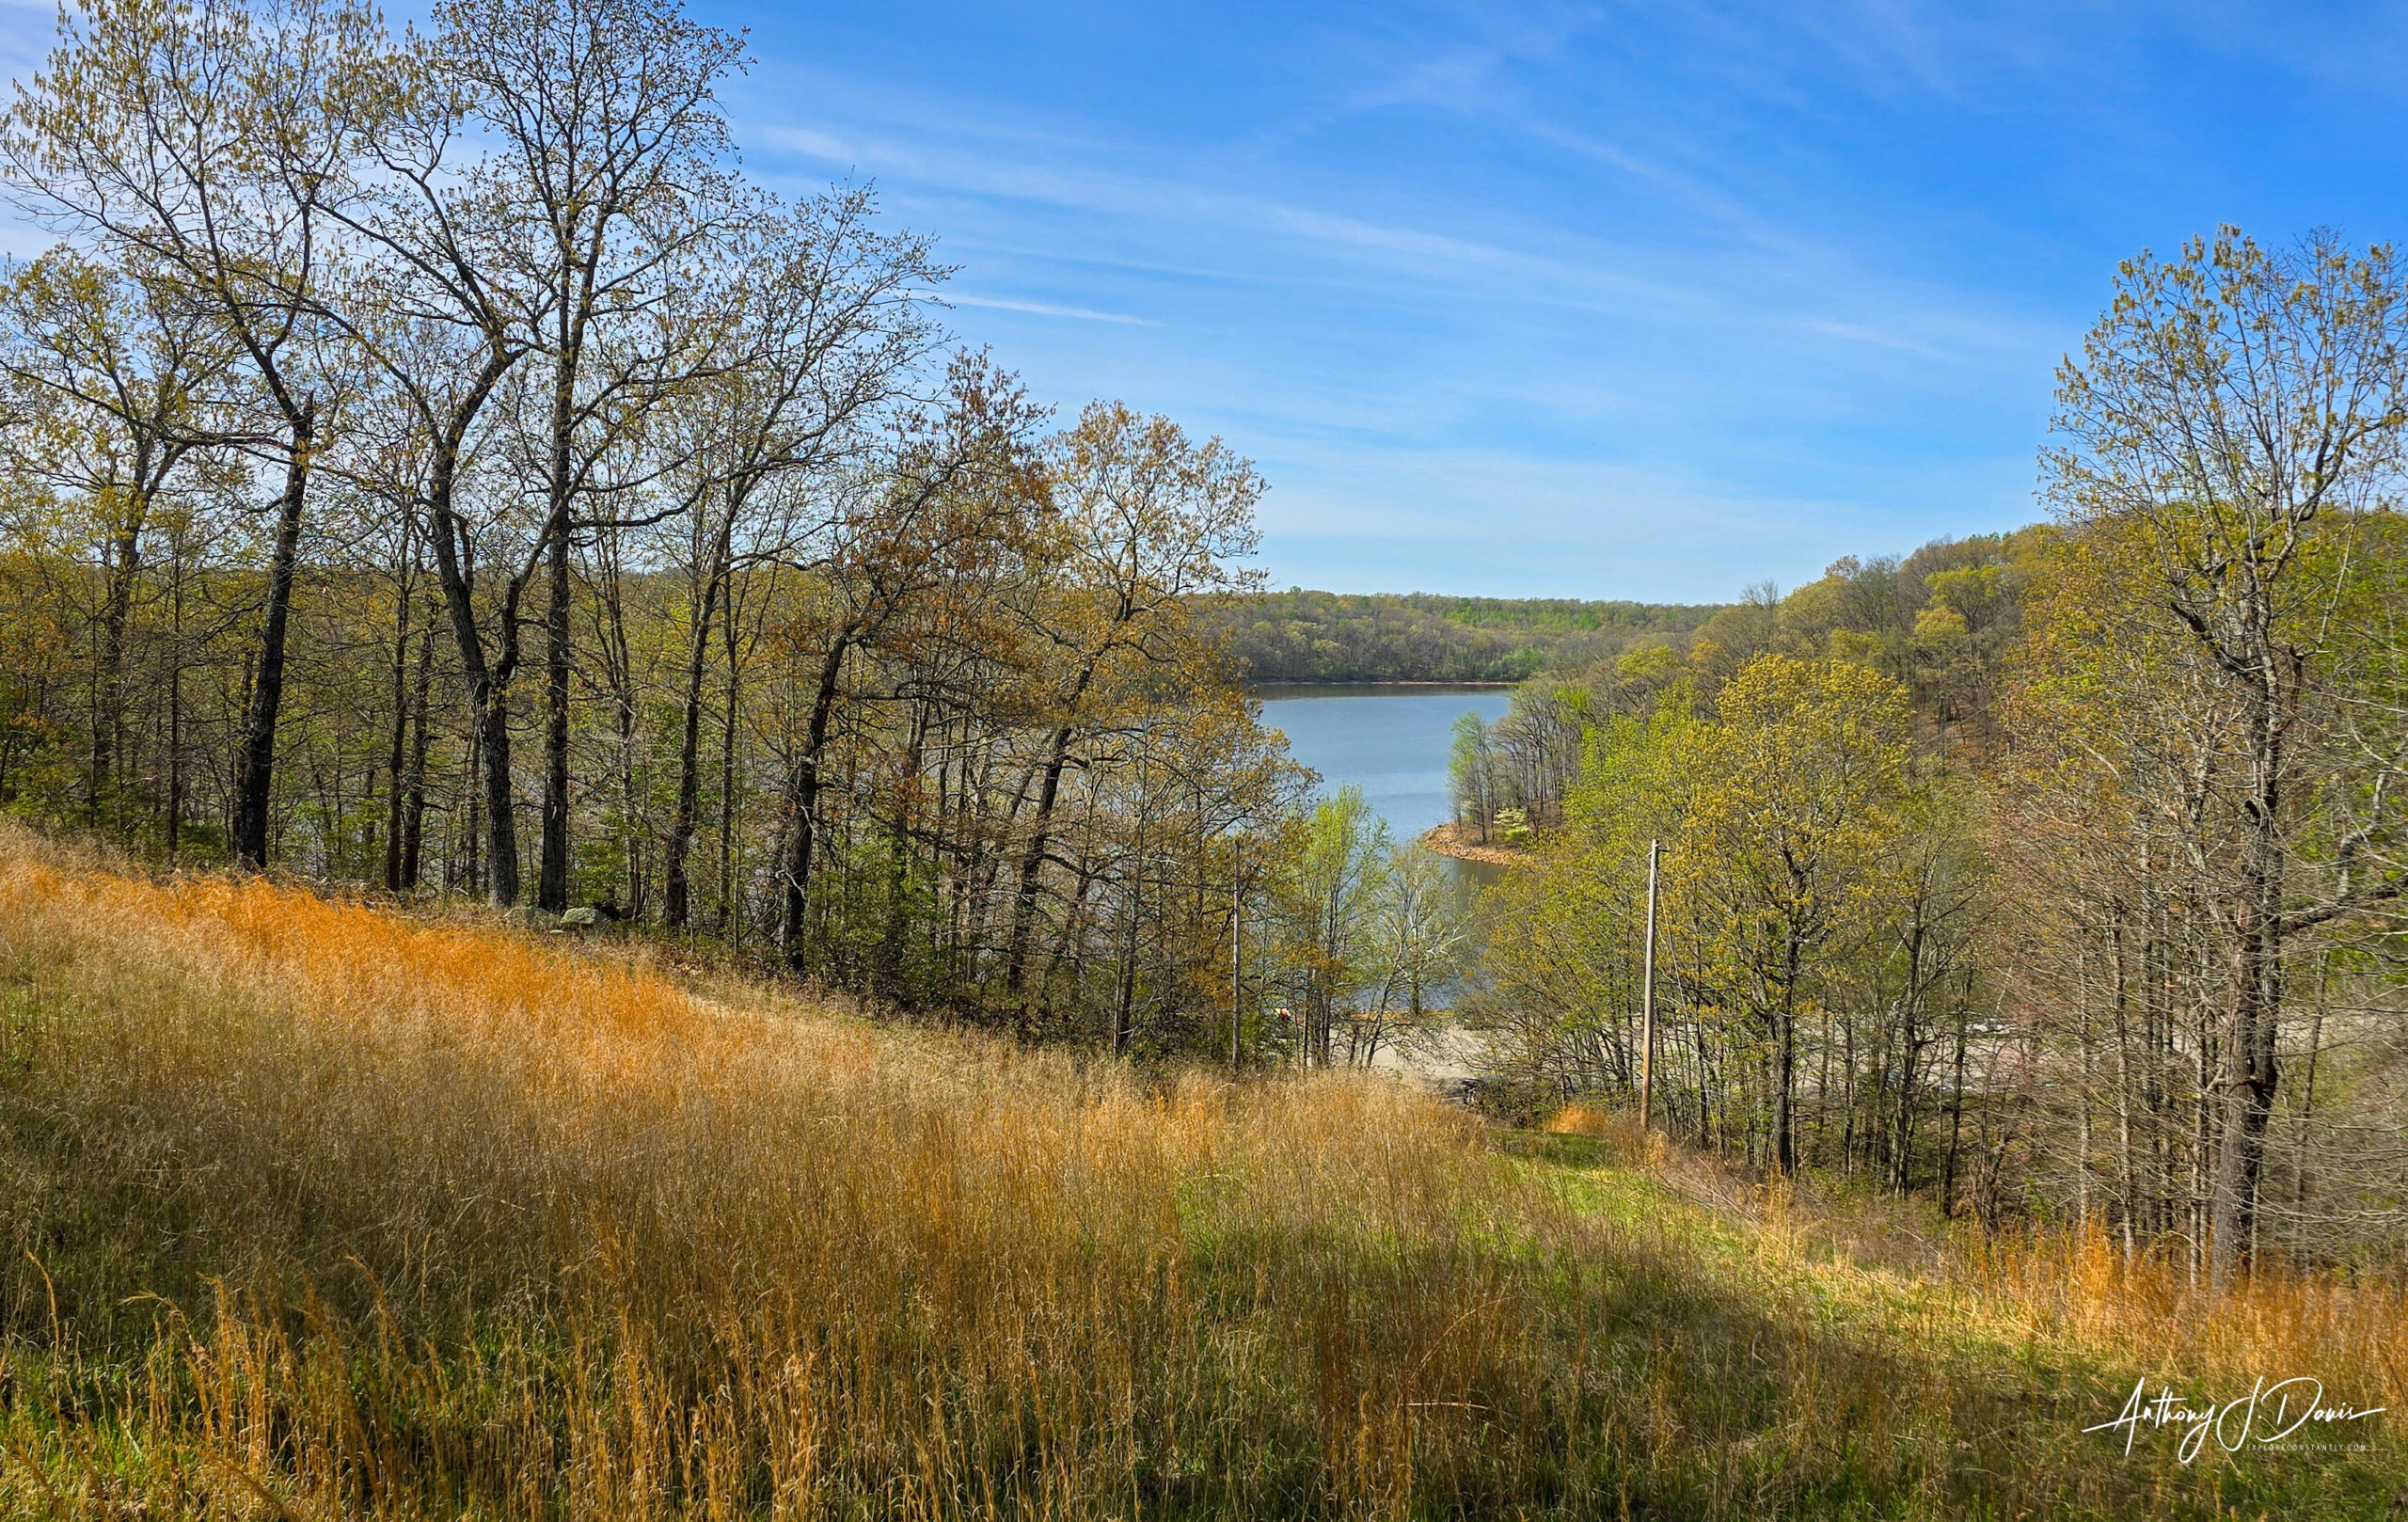
Our spot for Total Solar Eclipse 24 at Lake Wappapello State Park, MO
A total solar eclipse has phases. Each of the phases has different features to look for and try to photograph. I give myself a B or B- on this eclipse, because I got pretty good photos of most of the eclipse stages and features.
Here’s the list:
- First contact, the moment the moon first “touches” the edge of the solar disk. This phase lasts about an hour and a half, and the moon gradually covers a larger and larger portion of the Sun.
- Second contact occurs as the moon completely covers the Sun. On the moon’s leading edge, the last slice of light shines through lunar valleys, breaking up into a chain of bright “pearls” called Baily’s beads. Unfortunately, I didn’t get any good shots of Baily’s beads. At the end of phase II, in the final seconds before the moon completely covers the Sun, there is a last bright flash, combined with an emerging view of the corona—the Sun’s upper atmosphere—encircling the moon. This produces a spectacular effect called the diamond ring. I didn’t get the exposure exactly right, but see below for my best capture of the diamond ring.
- The next phase is Totality, this phase is when the sun is completely hidden, revealing the full glory of the solar corona. Totality is the only time we on Earth can see the corona, which streams out into space above the Sun’s surface.
- During totality, you can also see bright pink spots at the Sun’s edges. These are gigantic loops of plasma that rise from the Sun’s surface, called prominences. Their beautiful hue is the color of glowing hydrogen gas.
- Third contact is when totality ends, as the leading edge of the moon begins to move off the Sun. Once again, on the opposite side of the moon, the last light of the photosphere shines through mountains and valleys creating Baily’s beads. As the sun moves you can again see the diamond ring.
- Fourth Contact, when the outer edge of the moon last touches the Sun, marks the end of the eclipse. From First contact to this moment takes about two and a half hours.
- Four minutes of totality is really not a lot! I had a lot of plans for what to do during the totality, but it went by so quickly I didn’t get a chance to (1) capture Bailey’s Beads, (2) take my eyes off the sun/moon long enough to photograph the area around me, or (3) capture the shadow bands on the ground. I’m going to come up with a better plan for the next time, with less time working with camera settings and more time taking photos.
- It’s not super hard, but if you’re zoomed in a lot (I was using a 500mm lens) the moon moves quite a bit throughout the eclipse phases. It’s possible to use an automated tracker, but this is totally within the realm of what you can do manually and I’ll do it that way again next time.
- It was pretty challenging coming up with a good image of totality. I spent a good bit of time Googling how to stack images in Photoshop, and my final totality image is a stack of over a dozen images with different exposures.
- I used an app called Solar Eclipse Timer that gave me notifications during each phase of the eclipse and hints on what to look for. It was super useful during the eclipse, only costs $1.99 to use, and is available for both Android and Apple platforms.
- We got pretty lucky on weather, but I was also using an app called Windy (https://www.windy.com) to track the wind and cloud layers before and during the event. Windy’s free for the basic app and allows you to see an amazing number of active weather layers, including wind, clouds, rain, waves, etc in real time.
- Maybe I should think about setting up an ability to buy and download my images. I had three people come up and ask me if they could buy my eclipse photos sight unseen!
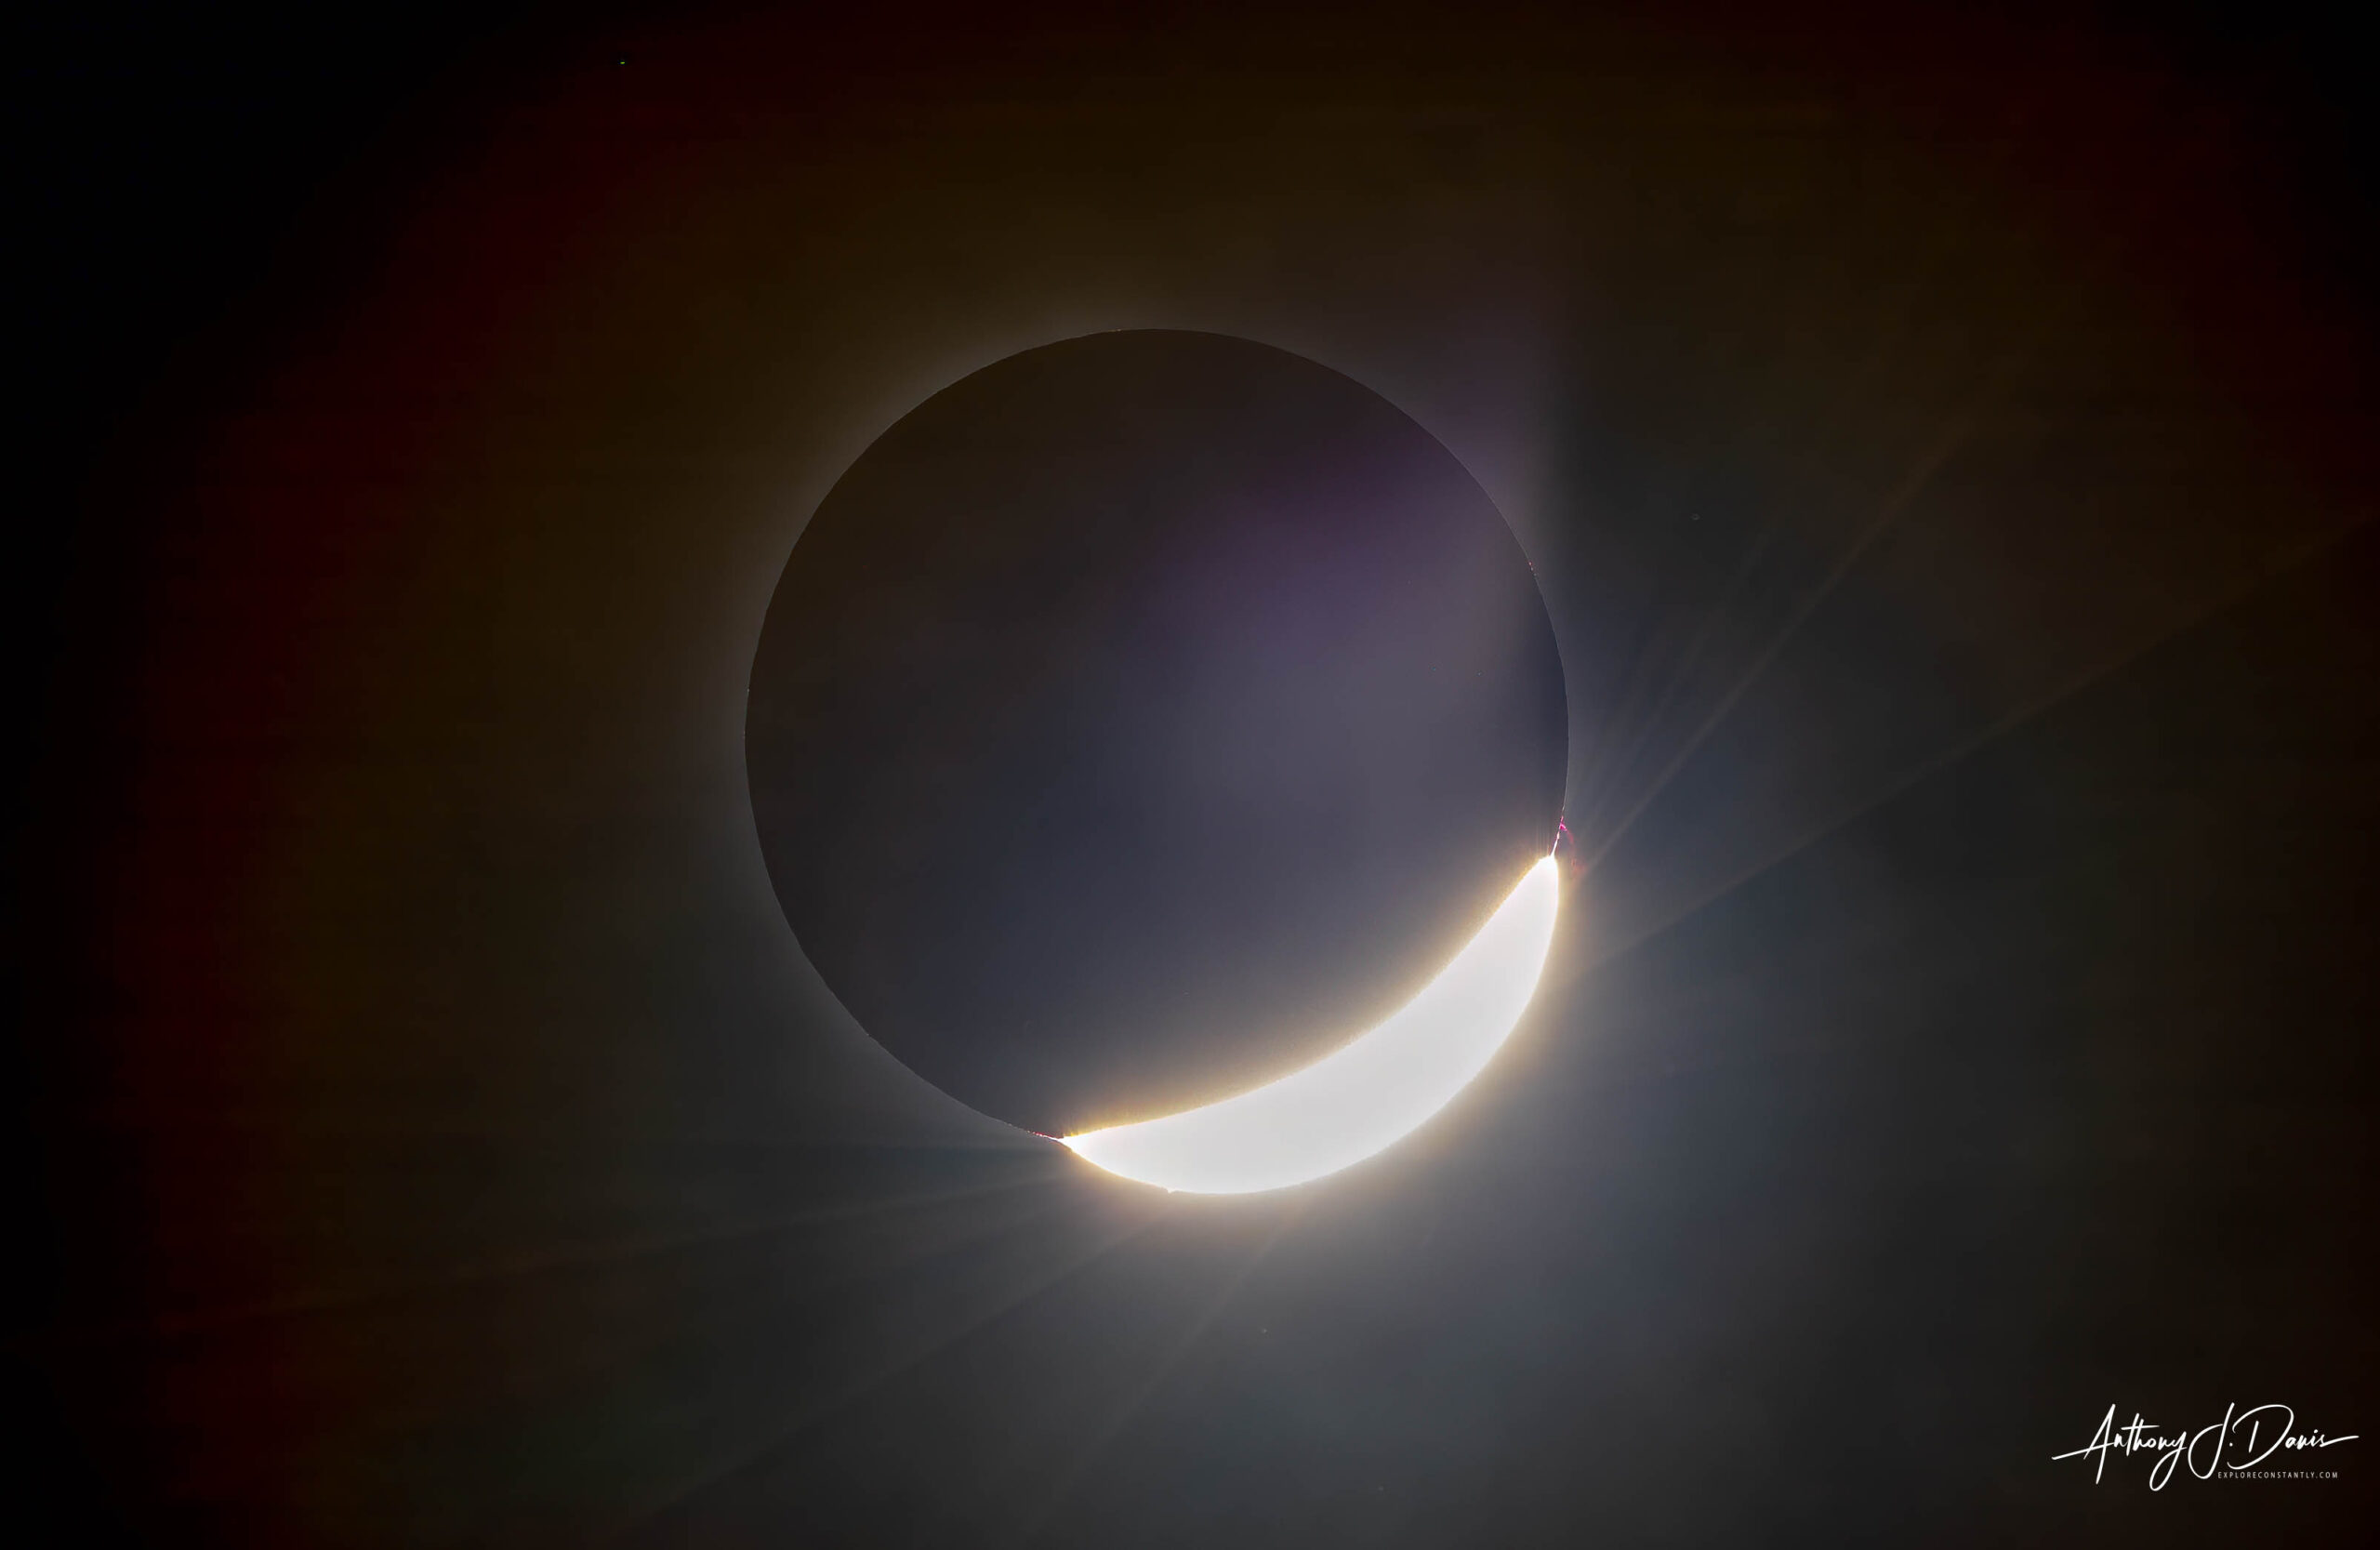
Total Solar Eclipse 24 diamond ring
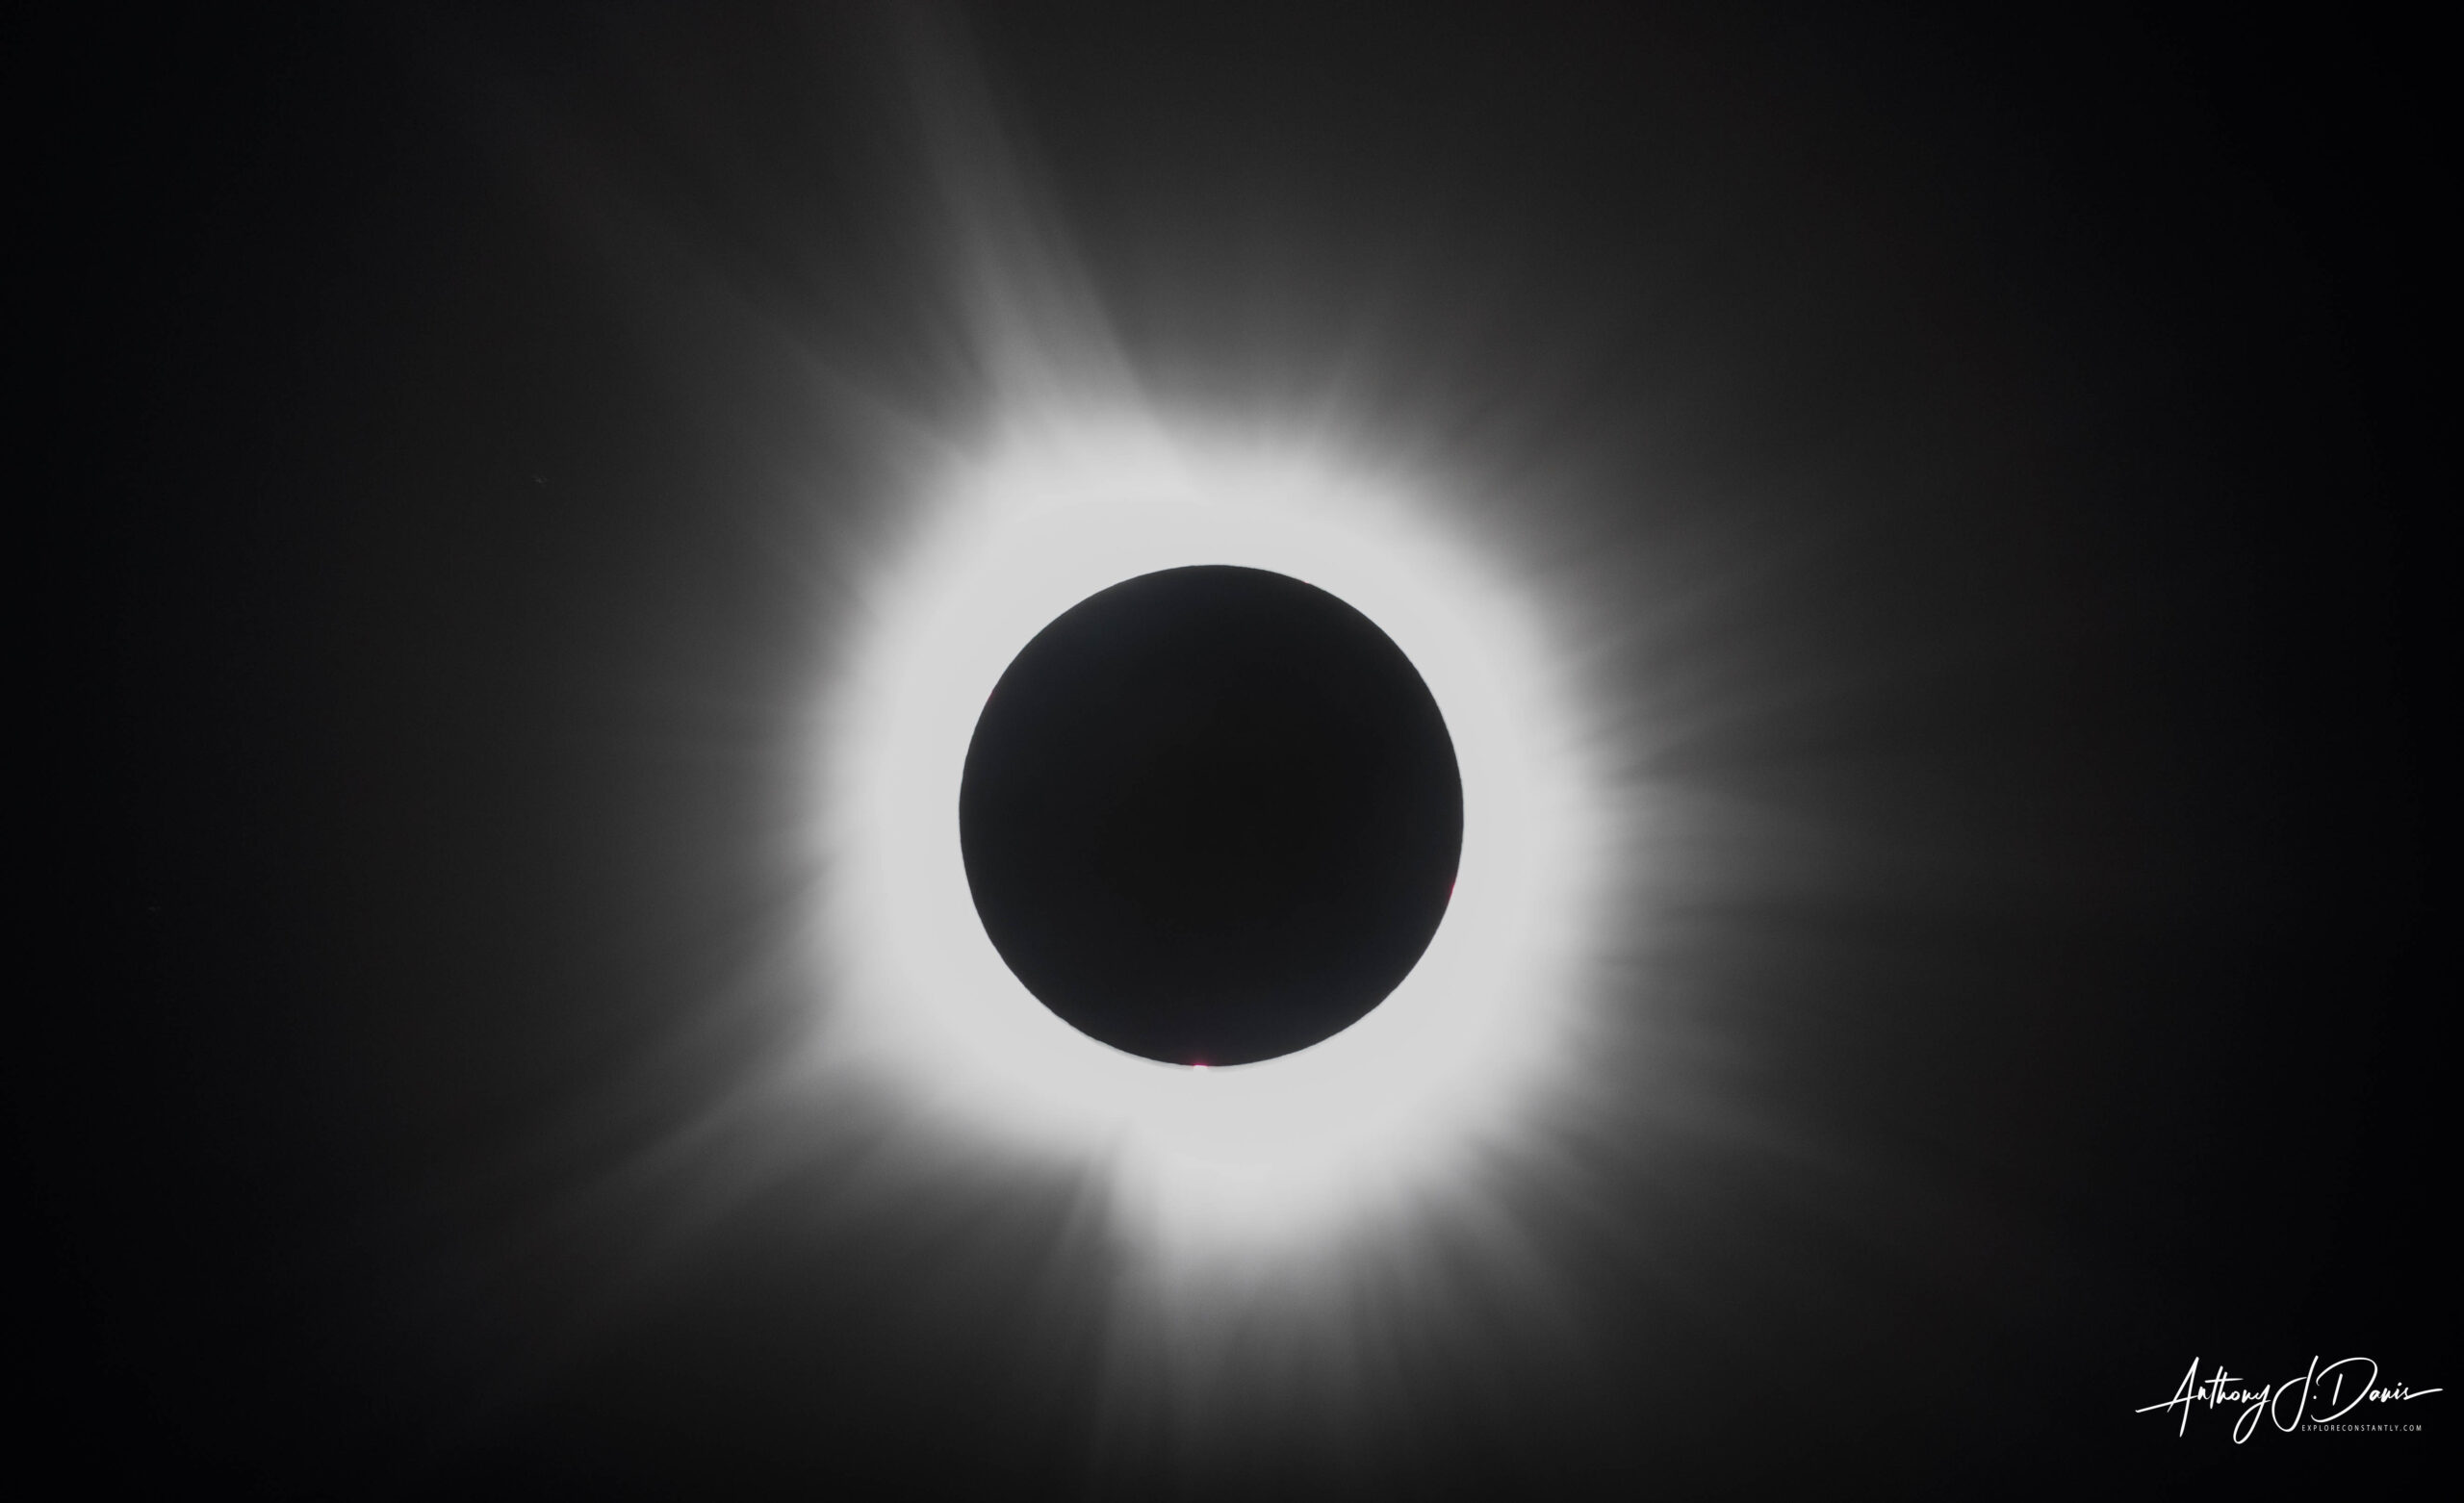
Total Solar Eclipse 24 totality
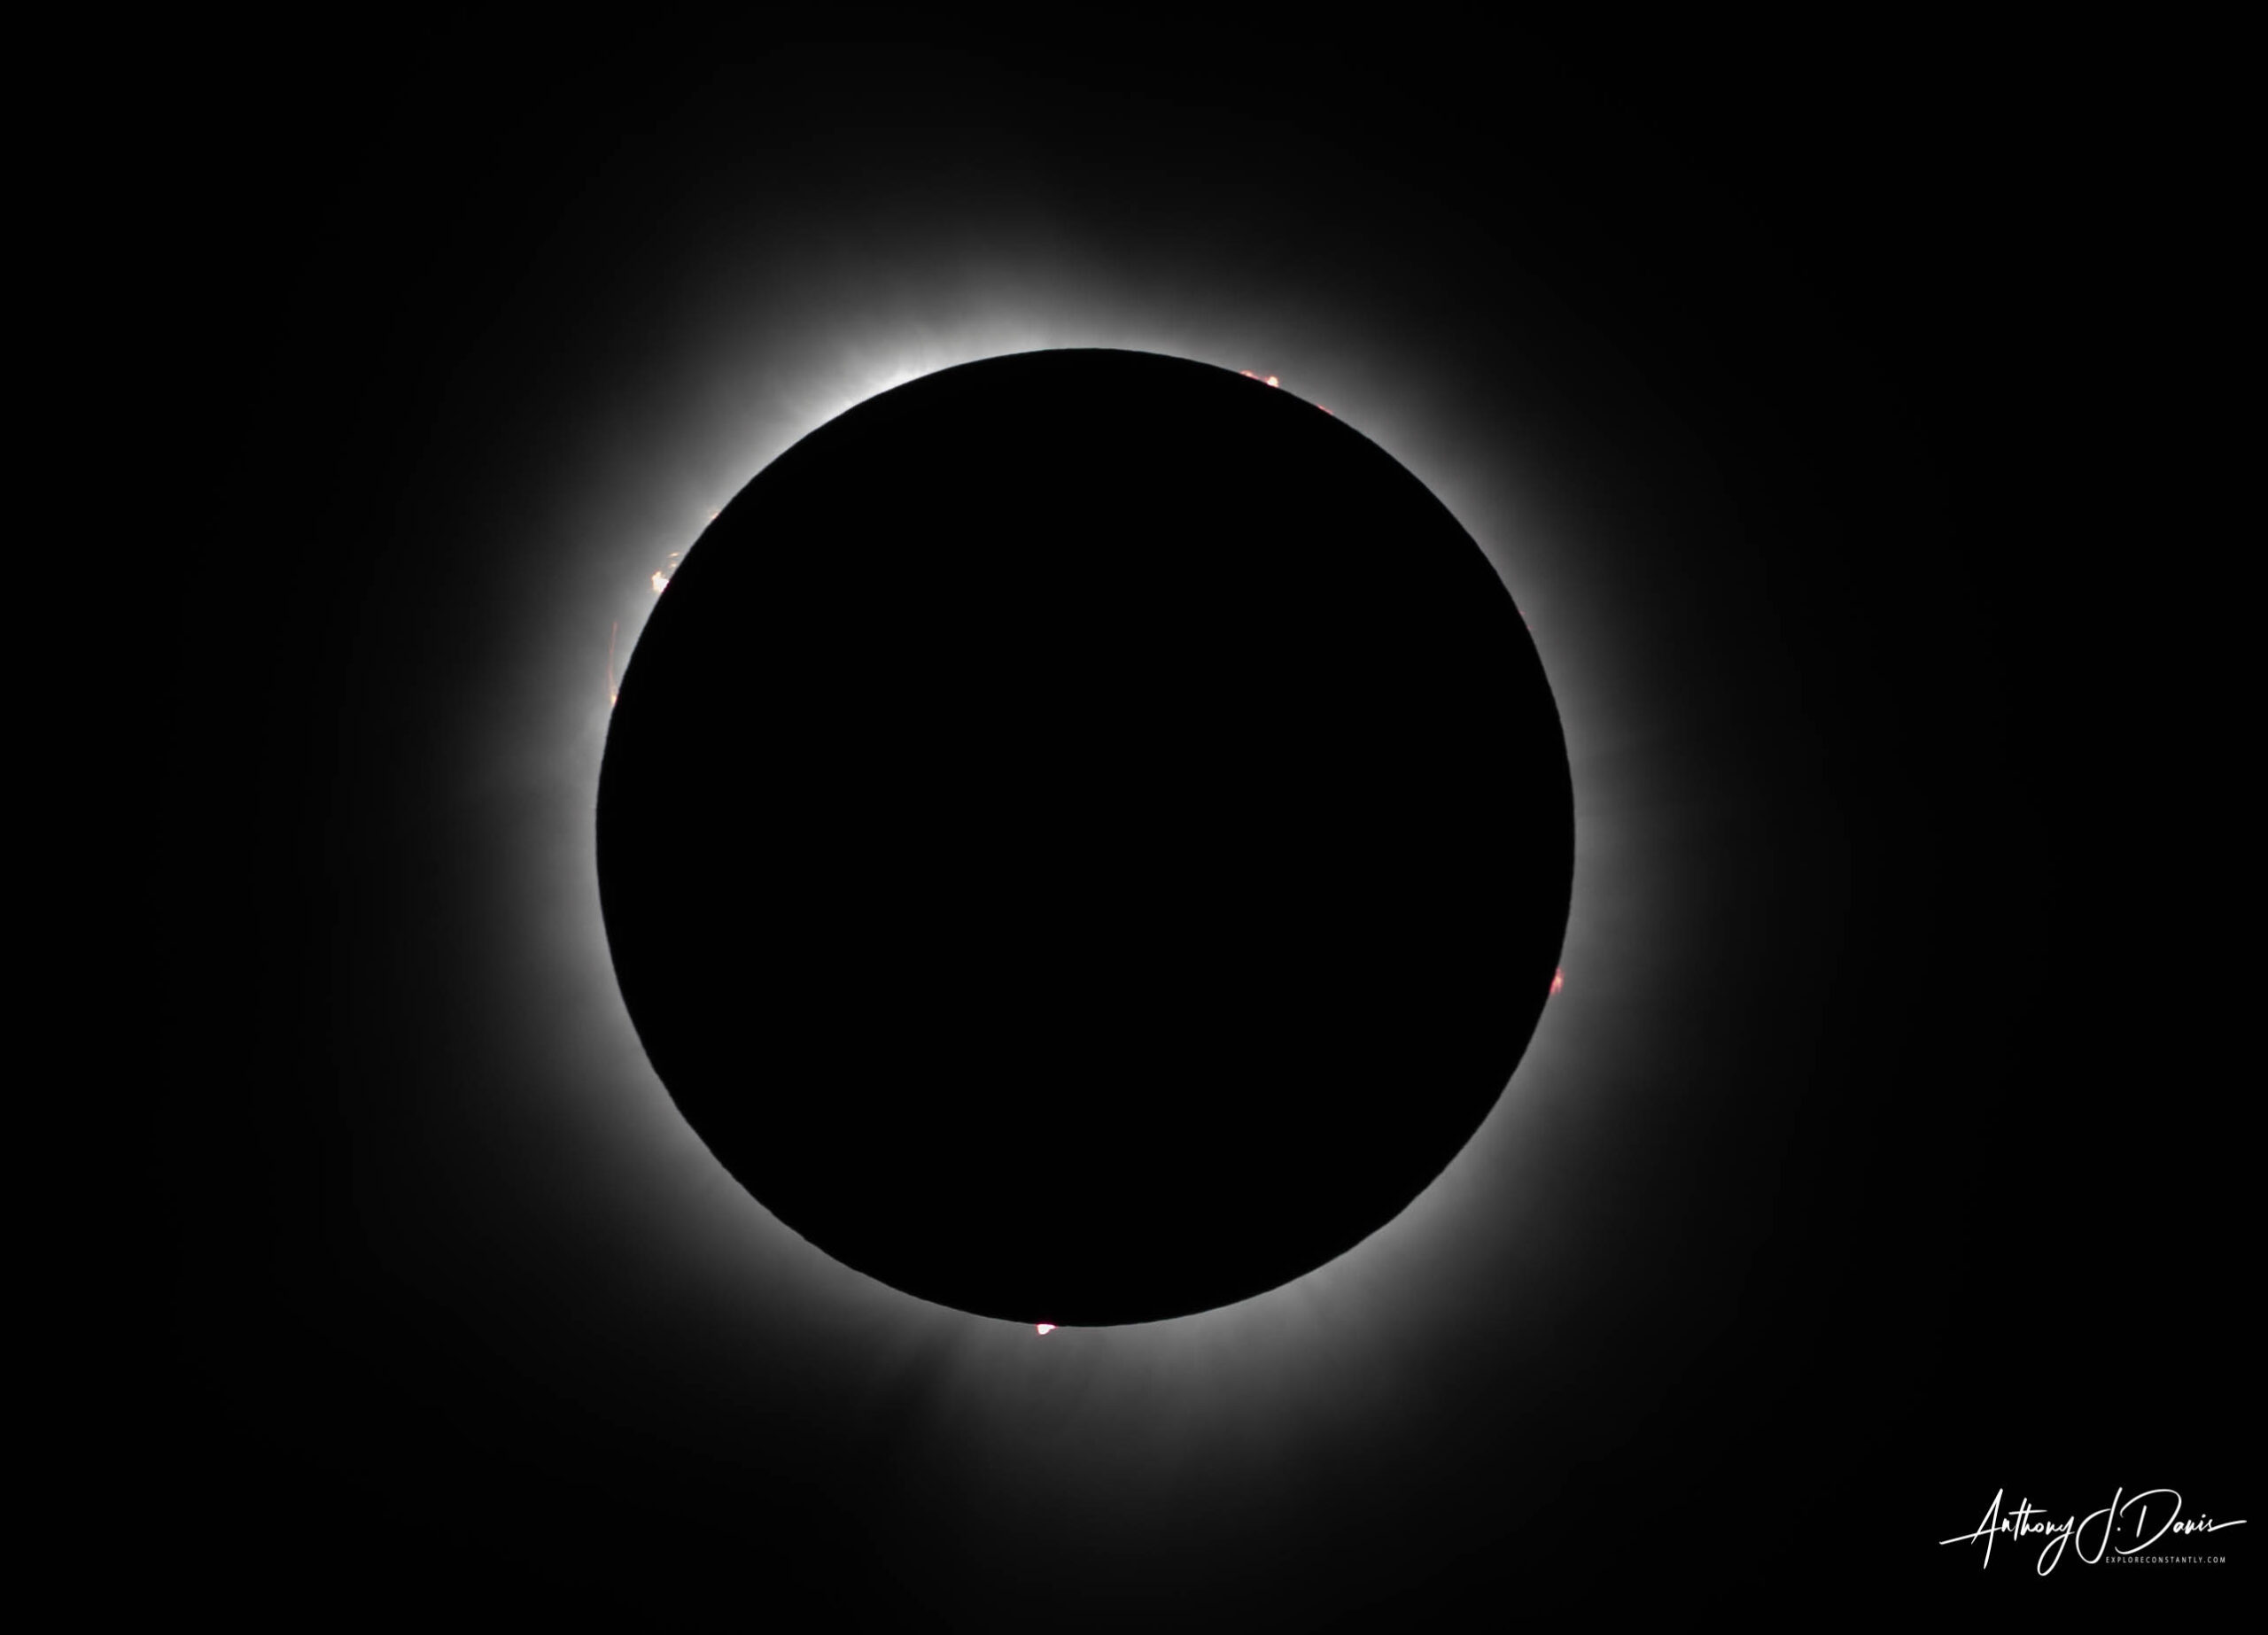
Total Solar Eclipse 24 prominences
When I’m on these photography expeditions I try to prepare well and take good notes, so I can get better in the future. Eclipse photography is probably the most technical and challenging photography I have done, with the exception of the Northern Lights. Since the Annular Eclipse on Oct 14, 2023 was my first real attempt at photographing an eclipse, I signed up for a professional photography tour with an amazing guide. Backcountry Journeys is the service I’ve used now twice for photography tours, and I’ve been very happy with the level of preparation and instruction involved. You can read about my Northern Lights trip with Backcountry here: Amazing scenery and Northern Lights – Winter trip to Fairbanks, AK, and the Annular Eclipse trip here (need to write post and add link).
Backcountry has some amazing guides, and I was lucky to join two of their best on these two trips. The Fairbanks trip was led by Alex Joseph Hansen (https://www.alexjosephhansen.com/), an amazing outdoor photographer and mountain athlete. Alex worked super hard to put us in the right place in Alaska, on some really crappy roads, and gave us multiple opportunities to capture Norther Lights. Alex is also a really good photography instructor, and gave us a great Lightroom training session, in addition to providing instruction is smaller settings throughout the trip. Khem Suthiwan (https://linktr.ee/speedracerkhem) led the eclipse trip to Bryce Canyon and Zion national parks. Khem is another world traveler, endurance athelete, and amazing photographer, and she did a great job of leading our trip while also providing individual and group instruction on eclipse and other photography.
Here is what I have for lessons learned from this trip. These are after I spent a considerable time reading, preparing, and practicing for the eclipse. The totality portion is especially challenging. You have to take off the solar filter, run your camera through a series of exposures, and at the same time keep an eye on the eclipse and the area around you. Very challenging! One of the great things about photography is that you can always learn more and improve.
All in all a really fantastic experience. I was really lucky that the SE portion of Missouri turned out to be such a great location to shoot. The combination of weather, reasonable numbers of people, and a moderate (about 6 hours each way) made it the perfect spot for my quest for Total Solar Eclipse 24.


0 Comments